DIY Quartz Worktops: Easy Installation Guide & Tips
DIY Quartz Worktops: Easy Installation Guide & Tips
 Key Takeaway:
DIY quartz worktops have become increasingly popular among homeowners seeking to enhance the aesthetics and functionality of their kitchens or bathrooms. Quartz worktops offer a combination of beauty, durability, and low maintenance, making them an excellent choice for any home improvement project. In this detailed guide, we will explore the benefits of quartz worktops, provide a step-by-step installation guide, discuss maintenance tips, and highlight frequently asked questions to ensure your DIY project is successful. If you have difficulting finding the right Trader for your dream construction projects, then relying on MAI would be the right choice. For more information, you can ping us. |
Are DIY Quartz Worktops Right for You?
DIY Skills
This project requires precise measurements, cutting skills, and the ability to follow detailed instructions. You can likely tackle this project if you're comfortable with basic carpentry tasks.
Tools and Equipment
You'll need specialised tools like a circular saw, router, and jigs to cut and shape the quartz slabs. Consider renting the necessary equipment if you don't already own them.
Project Complexity
The complexity increases with the number of cuts, angles, and cutouts required for your sink and hob. Start with a simple, rectangular countertop design for your first attempt.
Why Choose DIY Quartz Worktops?
DIY quartz worktops offer a multitude of advantages:
Cost-Effective
DIY quartz worktops can be significantly cheaper than pre-fabricated and professionally installed quartz countertops. You'll save on labour costs and have more control over the overall budget.
Customisation
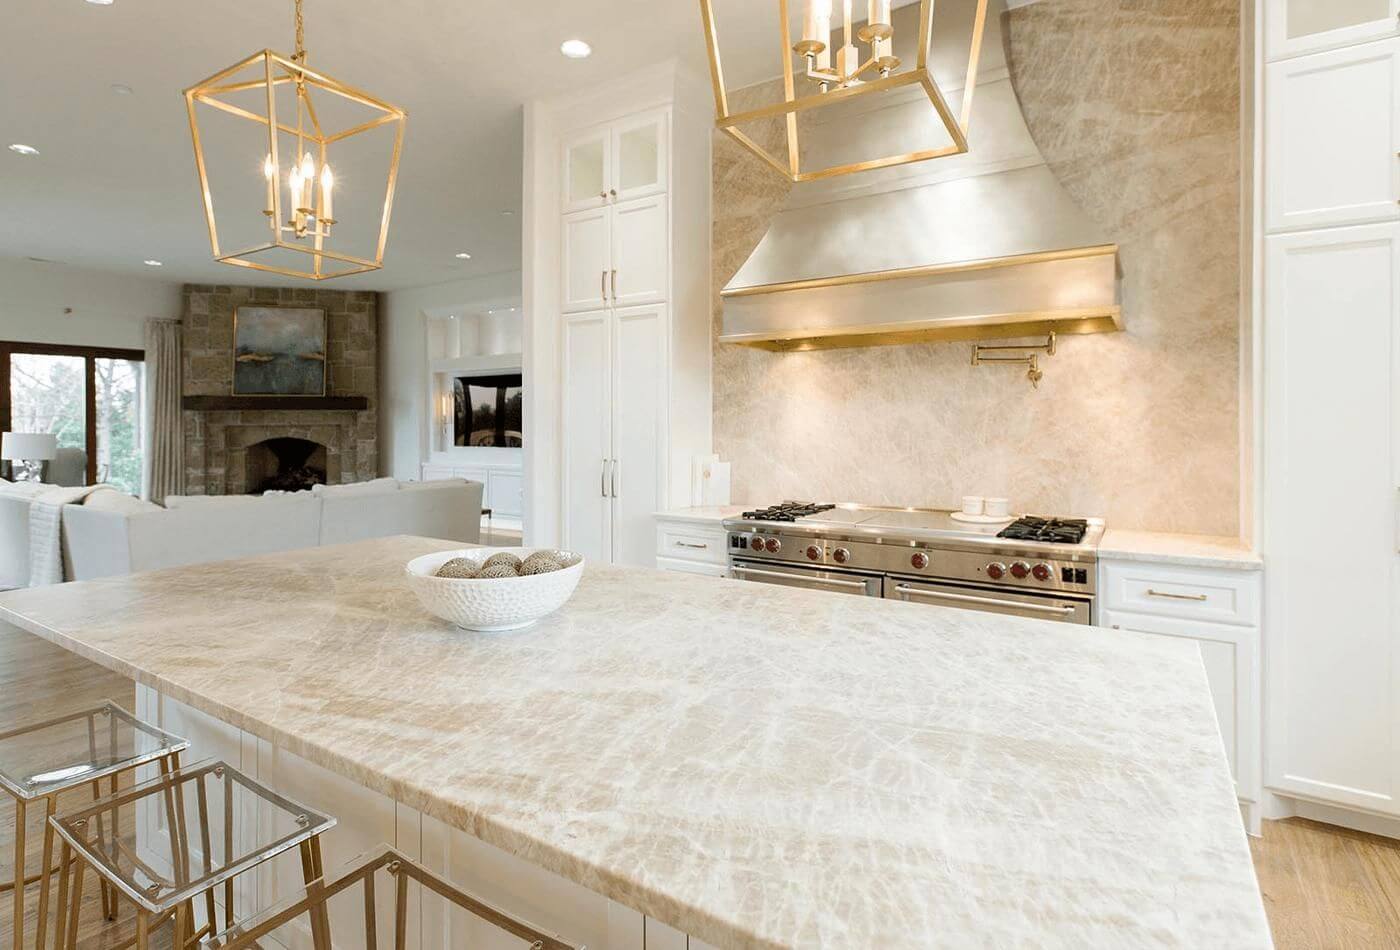
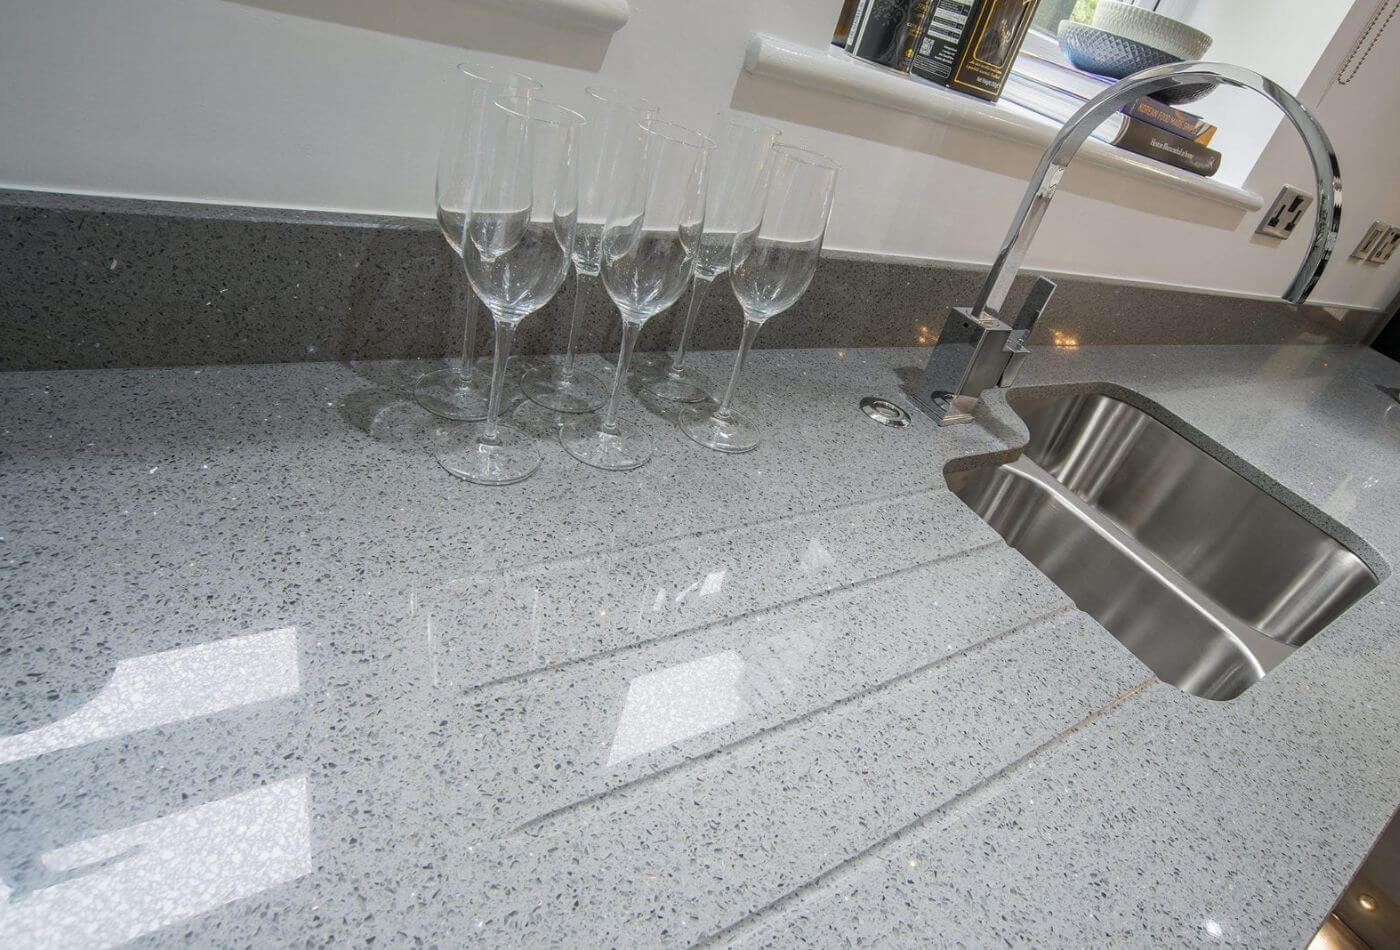
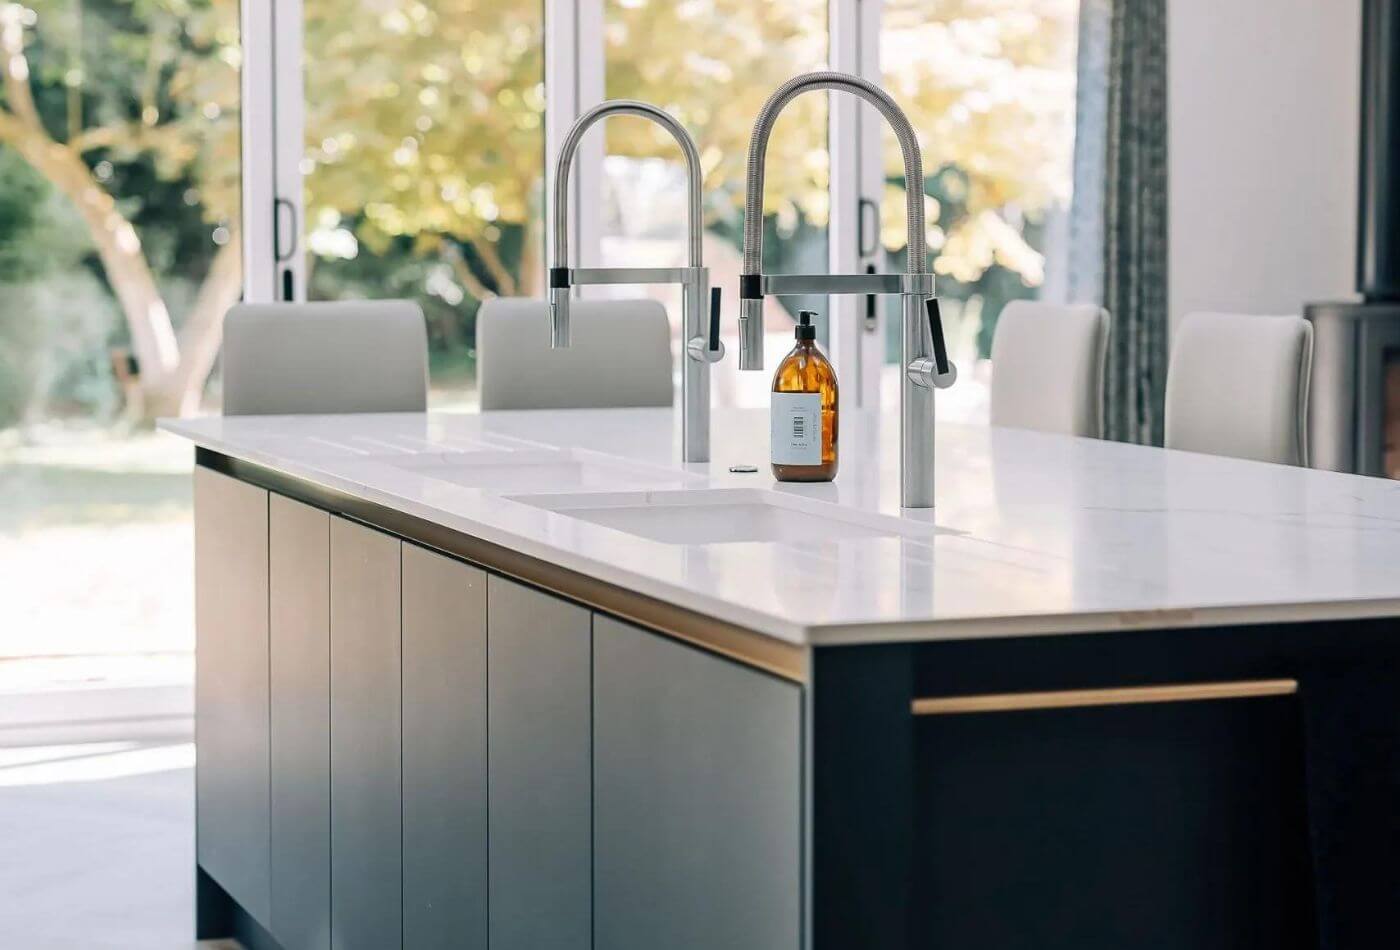
Quartz comes in various colours, patterns, and finishes, allowing you to personalise your kitchen and achieve the desired aesthetic.
Durable and Easy to Maintain
DIY quartz worktops are renowned for their durability. They're resistant to scratches, stains, heat, and bacteria, making them a practical and low-maintenance choice.
Sense of Accomplishment
The satisfaction of completing a successful DIY quartz worktop project is unparalleled. You'll have a beautiful countertop you can proudly say you created yourself.
Have you wanted a DIY Quartz Worktop? MAI is here to serve you. For more information, contact info@myproject.ai
Essential Tools and Materials for DIY Quartz Worktops
Quartz Slabs
Choose your quartz slabs' desired colour, pattern, and thickness from a reputable supplier.
Safety Gear
Always prioritise safety. Wear eye protection, gloves, a dust mask, and hearing protection when cutting the quartz.
Measuring Tools
A tape measure, level, and straightedge are essential for accurate measurements.
Cutting Tools
A circular saw with a diamond blade designed to cut quartz is crucial.
Shaping Tools
A router with various bits might be needed for shaping edges and creating cutouts for your sink and hob.
Adhesives and Sealants
High-quality silicone sealant is needed to adhere the quartz slabs to the base cabinets and create a watertight seal around the sink and hob.
Sanding Tools
Sandpaper in various grits will smooth cut edges and prepare the surface for sealant application.
Clamps and Supports
Clamps and supports are essential for holding the quartz slabs in place during cutting and assembly and while the adhesive cures.
Step-by-Step Guide to DIY Quartz Worktops
Measure Twice, Cut Once
Meticulously measure your kitchen cabinets to determine the size and shape of the quartz countertops you need. Account for overhangs, sink cutouts, and job placements.
Template Creation
Create a template from cardboard or MDF to ensure a perfect fit for your countertops. Double-check all measurements before transferring them to the quartz slabs.
Cutting the Quartz
Using your safety gear and the circular saw with a diamond blade, carefully cut the quartz slabs according to your template.
Shaping and Edging (Optional)
If your design requires rounded edges or specific profiles, use a router with appropriate bits to shape the edges of the quartz slabs.
Dry Fitting and Adjustments
Before applying adhesive, dry-fit the quartz slabs on your kitchen cabinets to ensure everything aligns perfectly. Make any necessary adjustments at this stage.
Preparing the Surface
Clean and sand the contact surfaces of the cabinets and the quartz slabs to ensure a good bond with the adhesive.
Applying the Adhesive
Follow the manufacturer's instructions for your chosen high-quality silicone sealant. Apply the adhesive evenly on the cabinet surface where the quartz slab will be placed.
Lifting and Positioning
This step requires extra care. With a helper, carefully lift the quartz slab and position it precisely on the prepared cabinet surface. C clamps and supports hold the slab in place while the adhesive cures.
Creating Cutouts
If your design incorporates a sink or hob cutout, use a jigsaw with a diamond blade specifically designed for quartz to make the necessary openings. Ensure precise measurements and double-check before cutting.
Sealing the Edges
Once the adhesive has cured completely, apply a generous bead of silicone sealant around the edges of the countertops where they meet the walls and backsplash. Smooth the sealant with a wet finger to create a watertight seal.
Polishing the Surface
Use a soft polishing cloth to buff the surface of your DIY quartz worktops for a final touch of shine.
Tips and Tricks for Successful DIY Quartz Worktops
Here are some additional tips to ensure your DIY quartz worktop project goes smoothly:
Plan for Seams
Ample countertops might require seams. Plan for seam placement in inconspicuous areas for a more seamless look.
Practice Cutting Scraps
Before tackling the quartz slabs, practice cutting techniques on scrap pieces to ensure accuracy and confidence.
Label Everything
Label your quartz slabs and templates clearly to avoid confusion during assembly.
Clean Up as You Go
Quartz dust can be a nuisance. Regularly clean up dust and debris to maintain a safe work environment.
Take Your Time
Don't rush the process. Careful planning, precise measurements, and meticulous execution are crucial to achieving a professional-looking finish.
Conclusion:
DIY quartz worktops are an excellent choice for homeowners looking to combine style, durability, and practicality. With the right tools and guidance, you can install quartz worktops yourself, saving labour costs and achieving a high-end look in your kitchen or bathroom. Remember to follow the installation steps carefully and maintain your quartz worktops to ensure they remain beautiful and functional for years.
#DIYQuartzWorktops #EasyInstallation #Guide&Tips #DIYWorktops #DIY #Home


Comments
Post a Comment